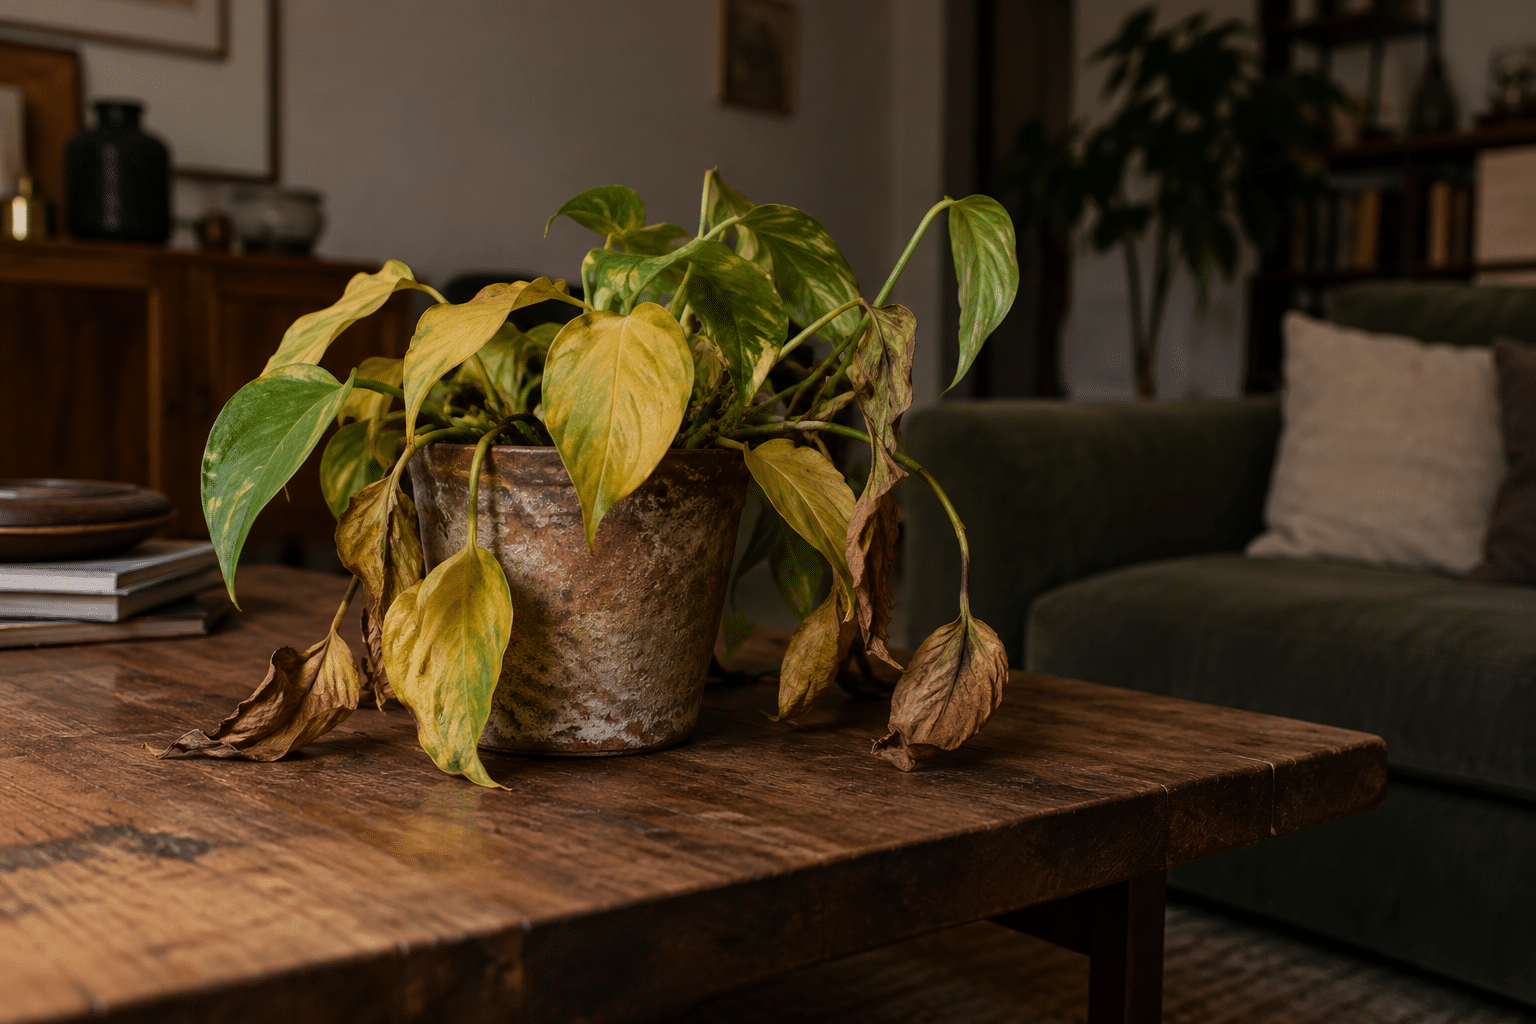

Yellow leaves, drooping stems and plants that never seem to grow can be frustrating. Before buying another plant or reaching for fertiliser, here are seven common mistakes to check and how to correct them.
There is something satisfying about bringing a new plant home. You find a nice spot for it, choose a pot that suits your space, give it some water and imagine how good it will look once it starts growing.
Then, a few weeks later, something changes.
The leaves begin turning yellow. The soil stays wet for days. Some leaves develop brown edges, while others start drooping even though you have been watering regularly. Eventually, you find yourself wondering what went wrong.
If this sounds familiar, you are not alone. Growing plants indoors can be surprisingly different from growing them outdoors. A plant that looked perfectly healthy at the nursery may struggle once it adjusts to a new environment.
The good news is that many common plant problems are fixable. You do not necessarily need expensive fertilisers, specialised equipment or an entirely new collection of plants. You first need to understand what your plant is trying to tell you.
Here are seven common mistakes that can cause indoor plants to struggle, along with practical ways to fix them.
1. Watering Your Plants on a Fixed Schedule
One of the easiest mistakes to make is watering every plant on the same day, regardless of whether it actually needs water.
Perhaps you water everything every morning, every alternate day or every Sunday. It feels organised, but plants do not follow our calendars.
A plant in a small terracotta pot near a sunny window may dry out quickly. Another plant in a larger plastic pot, sitting in a cooler corner, may remain moist for several days longer.
The type of plant, potting mix, temperature, humidity and amount of light all affect how quickly the soil dries. That is why a fixed watering schedule can lead to both overwatering and underwatering.
How to fix it
Before watering, check the soil rather than relying on the number of days since the last watering.
For many common indoor plants, you can start by inserting your finger about two inches into the soil. If it still feels moist, wait and check again later. If it feels dry, the plant may need water.
This is a starting point, not a universal rule. Succulents and cacti generally need the soil to dry more thoroughly, while some tropical plants prefer more consistent moisture.
When watering a plant that needs it, water the soil thoroughly and allow excess water to drain away. Avoid giving it tiny amounts of water repeatedly just to keep the surface damp.
The aim is not to water less or more. It is to water according to the plant’s actual needs.
2. Giving Too Much Water Because the Leaves Look Unhealthy
This is where things get confusing.
You notice that your plant is drooping, so you assume it needs water. You water it again, but the plant continues to look worse.
The problem may not be a lack of water at all.
When soil remains excessively wet, the roots may struggle to get the oxygen they need. Prolonged wet conditions can damage roots and cause root rot, making it harder for the plant to absorb water properly.
As a result, an overwatered plant can look remarkably similar to an underwatered one.
Yellowing leaves, persistent wilting and leaf drop can all occur when roots are damaged by excessive moisture. However, these symptoms can have other causes too, so look at the soil and the overall condition of the plant before deciding what to do.
How to fix it
Start by checking the soil moisture.
- If the soil is dry well below the surface, the plant may need watering.
- If the soil is consistently wet and the plant is deteriorating, stop watering until you understand what is happening.
- If the plant remains wilted despite wet soil, inspect the roots if the symptoms are serious.
Healthy roots are generally firm. Rotten roots are often dark, soft and unpleasant-smelling.
If root rot is present, remove the damaged roots using clean scissors and repot the remaining healthy plant in a suitable, well-draining potting mix. Severely damaged plants may not recover.
Most importantly, do not assume that every drooping plant needs another drink.
Sometimes, the best thing you can do is put the watering can down.
3. Using Pots Without Proper Drainage
Decorative pots can make a big difference to how your plants look. Ceramic pots, painted containers and unusual planters can turn an ordinary plant into an attractive part of your home.
But there is one practical detail that often gets overlooked: drainage.
When excess water has nowhere to go, it can collect at the bottom of the pot. The soil may remain wet for too long, increasing the risk of root damage.
A layer of stones at the bottom does not solve this problem. It does not replace a drainage hole and can actually leave a zone of saturated soil above the stones.
How to fix it
Whenever possible, grow your plant in a pot with drainage holes.
If you prefer a decorative container without holes, use a simple alternative: keep the plant in a separate nursery pot with drainage holes and place that inside the decorative pot.
When you water, remove the inner pot if practical, allow the excess water to drain, and empty any water collected in the outer container before putting it back.
Also, choose a pot that suits the plant’s size. A very large pot holds more soil than a small root system can use, which may cause the mix to stay wet for longer.
A good-looking pot is useful. A good-looking pot that also lets the roots breathe is better.
4. Keeping Plants in a Corner That Is Too Dark
A plant can make a dark corner look more inviting, which is probably why we are tempted to place them there.
The problem is that a room that looks bright to us may still receive very little useful light for a plant.
Indoor plants need light for photosynthesis, but their requirements vary considerably. Some tolerate lower-light conditions better than others. Many still struggle when kept far from a window for long periods.
Insufficient light can result in slow growth, smaller leaves, weak or stretched stems and a plant that gradually loses its healthy appearance.
On the other hand, suddenly placing a shade-tolerant plant in harsh direct sunlight can scorch its leaves.
How to fix it
Consider the light requirements of the particular plant you own.
- Observe how much natural light reaches the area throughout the day.
- Move plants that need brighter conditions closer to a suitable window.
- Keep sensitive plants away from intense direct afternoon sunlight if it scorches their leaves.
- Rotate plants occasionally if growth becomes noticeably uneven.
If your home receives very little natural light, consider a suitable grow light for plants that need more illumination.
One useful habit is to pay attention to the plant rather than choosing its location entirely for decorative reasons. If it is consistently struggling in a particular spot, the location may be part of the problem.
You can always rearrange the room around a healthy plant. Reviving a plant that has been slowly declining for months is usually more difficult.
5. Using the Wrong Soil or Reusing Tired Potting Mix
Garden soil and potting mix are not necessarily interchangeable.
Soil taken directly from a garden can become compacted in a container, drain poorly or introduce unwanted pests. Even a potting mix that worked well for one plant may not be suitable for another.
Different plants need different balances of moisture retention, drainage and aeration. A cactus and a moisture-loving tropical plant, for example, should not automatically be grown in identical mixes.
Over time, potting mix can also break down, compact or accumulate salts from fertilisers and irrigation water.
How to fix it
Choose a potting mix suited to the type of plant you are growing.
For many common foliage plants, a quality indoor potting mix with good drainage and aeration is a sensible starting point. Plants that prefer drier conditions, such as many succulents and cacti, generally benefit from a mix designed to drain more freely.
Consider repotting if the mix has become dense, water struggles to pass through it, or the plant has outgrown its container.
However, do not repot every struggling plant immediately. Repotting can stress an already unhealthy plant, and it will not correct problems caused by unsuitable light or poor watering habits.
First identify the likely cause. Then decide whether changing the soil or pot is necessary.
6. Adding Fertiliser Whenever a Plant Looks Unhealthy
When a plant stops growing or its leaves turn yellow, fertiliser can seem like an obvious solution.
After all, plants need nutrients to grow.
But adding more nutrients does not automatically make an unhealthy plant healthier. If the real problem is waterlogged soil, damaged roots or insufficient light, fertiliser will not solve it.
Excessive fertiliser can also cause a buildup of soluble salts in the growing medium. These salts can damage roots and interfere with the plant’s ability to absorb water.
Brown leaf tips, scorched edges and declining growth can sometimes be associated with excess fertiliser, although other problems can produce similar symptoms.
How to fix it
Before feeding your plant, check the basics:
- Is it receiving the right amount of light?
- Is the soil drying appropriately between waterings?
- Is the pot draining properly?
- Is the plant actively growing?
If those conditions are suitable and the plant needs nutrients, use a fertiliser appropriate for that plant and follow the product’s directions.
Avoid repeatedly increasing the dose in the hope of getting faster results. More fertiliser is not necessarily better.
If you suspect a buildup of fertiliser salts, review your watering and feeding practices. Depending on the plant and the condition of the potting mix, flushing the mix with water may help, provided the container drains freely and the roots are not already waterlogged.
7. Expecting a Plant to Adjust Immediately to Its New Home
You bring home a plant that looks full, green and healthy. A few days later, it begins dropping leaves.
It is easy to assume that something has gone wrong with your care.
Sometimes, however, the plant is responding to a change in its environment.
Plants grown in nurseries may have different light levels, humidity, temperatures and watering routines from those in your home. Moving them can cause temporary stress while they adjust.
This does not mean that every unhealthy new plant is simply settling in. Pests, damaged roots, poor drainage and unsuitable conditions can also be responsible.
How to fix it
When bringing a new plant home, avoid changing everything at once.
Place it in a location with suitable light, check the soil before watering, and avoid immediately repotting or fertilising it unless there is a clear reason to do so.
Inspect the leaves and stems for pests, particularly underneath the leaves and around new growth.
Give the plant time to adjust while monitoring its condition. If the decline continues or becomes severe, investigate the growing conditions rather than assuming the plant simply needs more time.
A little patience helps, but so does knowing when to intervene.
How to Tell What Your Plant Might Need
When a plant looks unhealthy, start with the symptoms you can observe. No single symptom is enough to identify every problem, but the following table can help you decide what to investigate first.
| What you notice | Possible causes | What to check first |
|---|---|---|
| Yellow leaves | Overwatering, underwatering, poor light, nutrient issues or normal ageing | Soil moisture, drainage and recent changes |
| Drooping or wilting | Dry soil, waterlogged roots, root damage or heat stress | Whether the soil is dry or wet below the surface |
| Brown, crispy leaf edges | Irregular watering, low humidity, excess fertiliser or intense sunlight | Soil moisture, light exposure and feeding history |
| Long, weak or stretched stems | Insufficient light | Whether the plant receives enough light for its species |
| Soil staying wet for days | Poor drainage, compacted mix, a large pot or low evaporation | Drainage holes, pot size and the condition of the mix |
| Little or no new growth | Insufficient light, seasonal slowing, root problems or nutrient issues | Light, growing conditions and the plant’s normal growth cycle |
These are clues rather than definitive diagnoses. Several problems can occur together, so look at the full picture before making changes.
A Simple Routine for Healthier Indoor Plants
You do not need to spend hours caring for your plants every day. A short, regular check can help you catch problems before they become serious.
Check the soil before watering. Avoid watering simply because it is a particular day of the week.
Look at the leaves. Notice changes in colour, texture, new growth and the appearance of pests.
Pay attention to light. A plant that once grew well may struggle if its surroundings change or its light requirements are not being met.
Check drainage. Make sure excess water can escape and does not remain collected around the roots.
Feed thoughtfully. Use appropriate fertiliser when needed instead of treating it as a cure for every problem.
Make changes gradually. When possible, correct the main problem first rather than changing the plant’s soil, pot, location, watering routine and fertiliser all at once.
The goal is to understand what your plant needs and respond accordingly, rather than constantly trying new remedies.
Sometimes, the Best Solution Is to Change Your Approach
Growing indoor plants is partly about learning to observe them.
You begin to notice how quickly the soil dries in different parts of your home, which plants prefer brighter windows and which ones are happier away from direct sunlight. You also learn that two plants sitting next to each other may need completely different care.
A struggling plant does not always mean you have a bad gardening habit. Sometimes the plant was unsuitable for the space, the conditions changed, or you simply have not worked out what it needs yet.
Instead of immediately replacing a plant that looks unhealthy, take a little time to investigate. Check the soil, examine the roots if necessary, review its light conditions and look for signs of pests.
You may discover that the solution is surprisingly simple. You may also learn that a particular plant needs conditions your home cannot easily provide.
Both are useful lessons.
The more you understand your plants, the less you have to rely on guesswork. And that makes growing them at home a lot more enjoyable.
Further reading
For more detailed plant-care guidance, these university extension resources are useful starting points:
- Houseplant Care — Oklahoma State University Extension
- Watering Indoor Plants — University of Maryland Extension
- Diagnosing Houseplant Problems Related to Poor Culture — Iowa State University Extension
This article is intended as general guidance. Specific care requirements vary by plant species and growing conditions.
Discover more from Uncle Teddy
Subscribe to get the latest posts sent to your email.