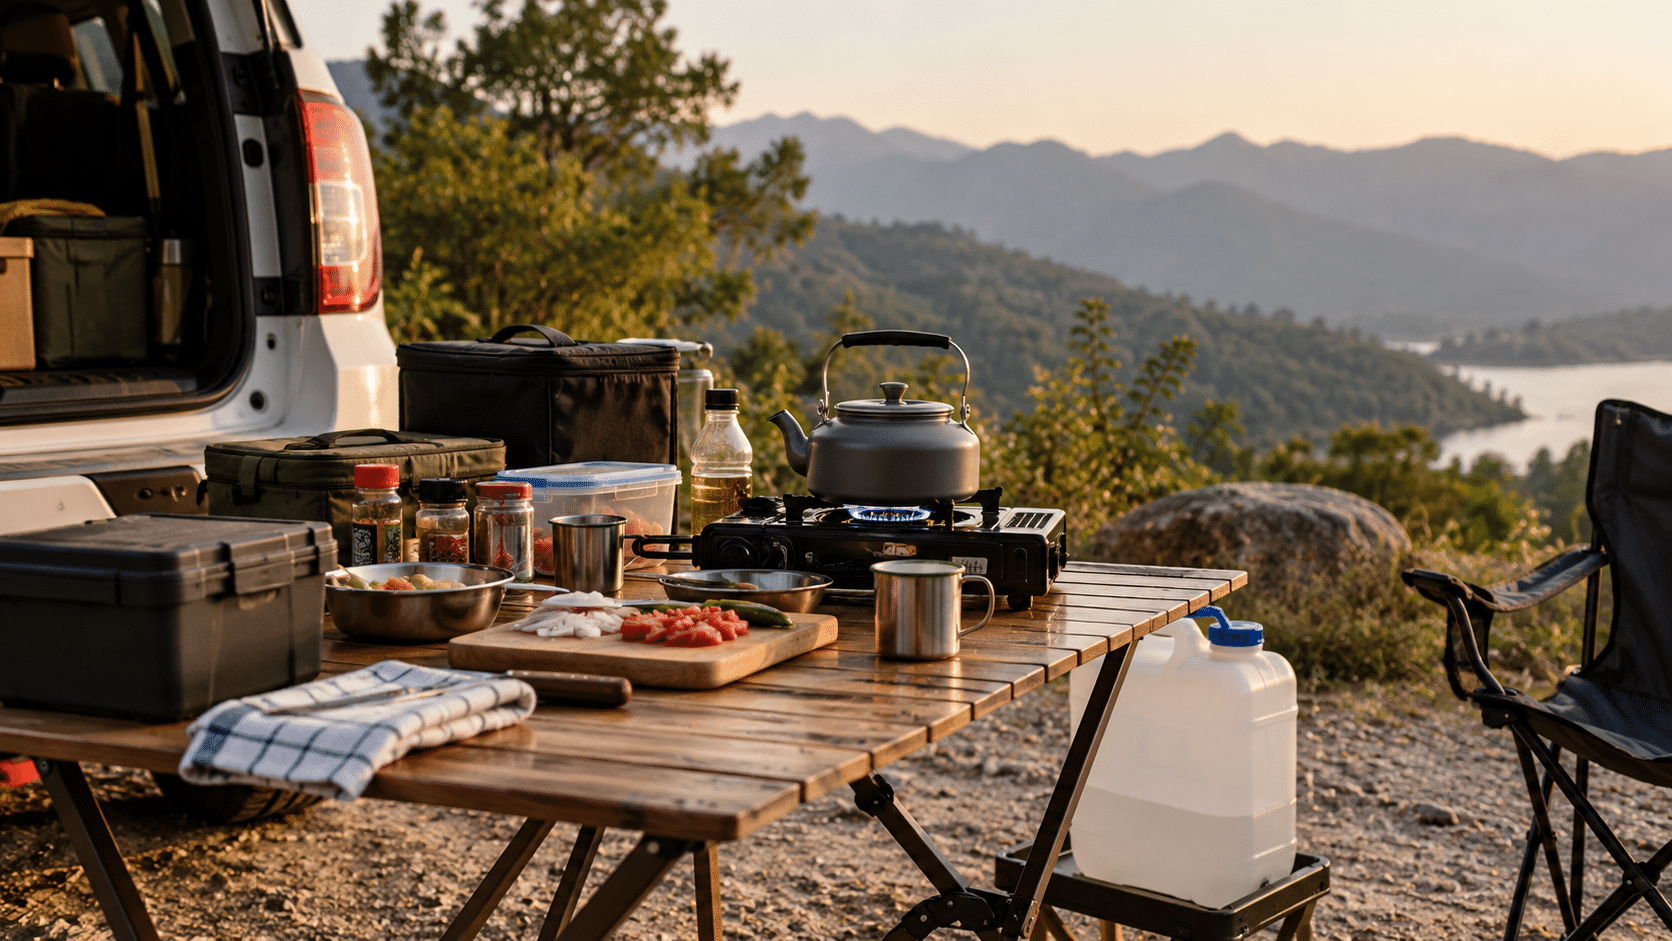

You don’t need a fully equipped campsite to cook a simple meal on a road trip. With a portable stove, a few useful utensils and some planning, you can create a compact outdoor kitchen that fits neatly in your car.
There is something appealing about stopping at a quiet spot during a road trip, making a cup of tea and preparing something to eat before getting back on the road. You are not rushing to find a restaurant or trying to fit your day around meal times. You have the freedom to stop, take a break and enjoy the surroundings.
But cooking on a road trip requires a little planning. You need somewhere to prepare food, a way to cook it, a few utensils and a sensible way to store everything when you are moving again.
The mistake is assuming you need to buy a lot of camping equipment before you can start. You don’t.
For a short road trip, a small camping kitchen can be surprisingly simple. A portable stove, one or two cooking vessels, a compact set of utensils, drinking water and a few food-storage containers can cover most basic needs.
Here is how to put together a practical setup without filling your car with equipment you may rarely use.
1. Start With a Portable Camping Stove
The stove is the centre of your camping kitchen, but it doesn’t have to be large or complicated.
For one or two people, a compact, purpose-built camping stove may be sufficient for boiling water, making tea, cooking eggs or preparing a simple one-pot meal. If you regularly travel with family or cook several dishes at once, a larger two-burner model may be more convenient.
Before choosing a stove, consider where you intend to use it, how many people you cook for, the availability of compatible fuel and how easily you can store it in your vehicle.
A few things worth checking:
- The stove is designed for outdoor cooking and is compatible with the fuel you can readily obtain.
- The cooking surface and supports are stable enough for your intended cookware.
- The manufacturer’s instructions clearly explain safe setup, operation and storage.
- You can obtain compatible fuel without making every trip a complicated exercise.
Do not choose a stove based on size alone. A cheap or compact model is not necessarily suitable for every type of outdoor cooking.
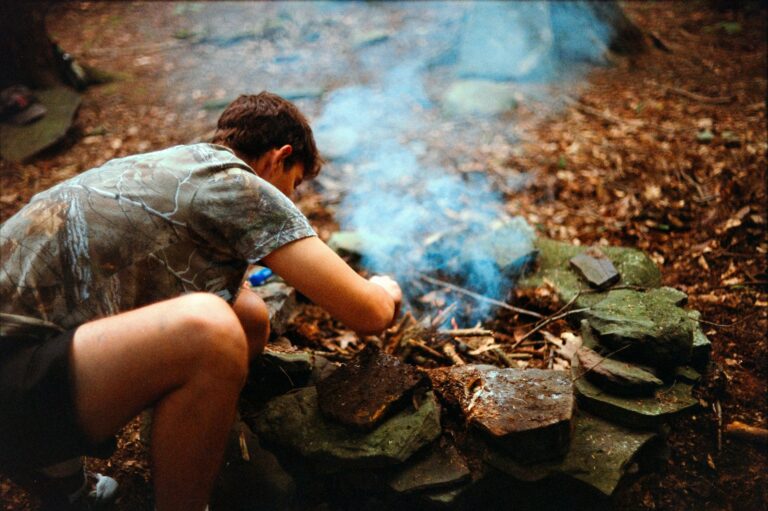
A safety rule: Use fuel-burning camping stoves outdoors in a well-ventilated area, away from the vehicle, tents, dry vegetation and combustible materials. Never operate one inside a car, closed vehicle, tent or other enclosed space. Carbon monoxide is dangerous and can accumulate without warning.
Also check local restrictions before cooking at a roadside stop, campsite or protected natural area. A portable stove does not automatically make cooking permissible everywhere.
2. Keep the Cookware to a Minimum
You do not need to carry your entire kitchen.
For a basic setup, start with a small cooking pot with a lid and a frying pan. Choose sizes that suit your stove and the meals you actually plan to prepare. If you prefer one-pot meals, you may be able to manage with just one suitable pot.
A compact cookware kit might include:
- One small pot with a lid
- One frying pan, if you need it
- One spatula or cooking spoon
- One sharp knife with a protective cover
- One small chopping board
- One pair of tongs or a serving spoon
You can use a pot to boil water, prepare instant noodles, cook dal or make a simple one-pot meal. A frying pan gives you more flexibility for eggs, vegetables and other quick dishes.
Choose cookware that is stable on your stove and suitable for its heat source. Avoid carrying heavy cast-iron cookware unless you have a particular reason to use it.
If you already own suitable cookware at home, test whether it works with your chosen stove before buying a separate camping set.
The best equipment is the equipment you will actually use.
3. Create a Small Food-Preparation Kit
Cooking becomes frustrating when you have the ingredients but cannot find a knife, spoon or container.
A separate preparation kit solves that problem. Keep the items together in a small box or pouch so you can take them out whenever you stop.
Your kit could contain:
- A small chopping board
- A kitchen knife with a protective cover
- A spatula or cooking spoon
- A reusable plate and bowl
- A mug
- A spoon and fork
- A small dishcloth
- A few food-storage containers
You can add a compact can opener or other tools if your meals require them.
For spices, oil and seasoning, use small, secure containers rather than carrying full-size bottles and packets. Label them if necessary, particularly if you prepare your kit in advance.
Keep sharp objects protected during transport, and pack them where they cannot move around or injure someone when the car brakes suddenly.
There is no need to buy a matching set of everything. A practical collection of items you already own can work just as well.
4. Plan the Food Before You Leave
A camping kitchen is only useful if you have food that is easy to prepare with the equipment you carry.
For a short road trip, I would plan meals around a few basic ingredients rather than packing an elaborate menu.
Consider options such as:
- Bread, wraps or ready-to-eat rotis
- Eggs, where suitable storage is available
- Instant oats or porridge
- Tea, coffee and drinking water
- Rice, poha or other ingredients for simple meals
- Onions, tomatoes and vegetables for meals you intend to cook
- Salt, spices and cooking oil in small containers
- Nuts, fruit and other convenient snacks
The idea is to choose ingredients that work with your stove and cookware, not to recreate your kitchen at home.
You can also prepare some ingredients before leaving. Wash vegetables, measure spices and pack dry ingredients into labelled containers. Keep raw ingredients separate from ready-to-eat food.
Perishable food needs particular attention. Use an insulated cooler with sufficient ice or frozen packs, and keep it closed as much as possible. Do not assume that food is safe simply because it still looks or smells normal. Follow appropriate refrigeration and food-storage guidance, and discard food that has been held at unsafe temperatures.
For a very short stop, carrying food that does not require refrigeration can simplify things considerably.
5. Carry a Separate Water and Cleaning Kit
Cooking is one part of the process. Cleaning up afterwards is just as important.
Without a little planning, you can finish a meal with dirty utensils, greasy cookware and nowhere convenient to wash your hands.
A compact cleaning kit can include:
- A refillable water container
- A small washing tub or basin
- Dishwashing liquid
- A sponge or scrubber
- A quick-drying cloth
- A rubbish bag
- Handwashing supplies
Carry enough safe water for drinking, cooking and basic cleaning, taking the length of the trip and availability of refill points into account.
Keep drinking water separate from water used for washing dishes. Clean your utensils after each meal, and store them only once they are clean and dry.
For washing up, use an appropriate designated facility whenever one is available. Do not pour soapy water, grease or food scraps into streams, lakes or other natural water sources. Follow the site’s rules for disposing of wastewater and rubbish.
A simple washing kit takes little space, but it makes the entire experience more manageable.
6. Organise Everything Into Two or Three Boxes
The way you pack your kitchen matters almost as much as what you pack.
If the stove is in one bag, the utensils are somewhere under the luggage and the spices are rolling around in the boot, even a simple meal becomes a chore.
I would divide a small camping kitchen into three groups.
Box 1: Cooking equipment
Keep the stove, compatible cookware, utensils and ignition accessories together. Store fuel according to the manufacturer’s instructions and applicable transport requirements; never leave loose or leaking fuel containers in the kitchen box.
Box 2: Food and ingredients
Store dry ingredients, spices, tea, coffee and other shelf-stable supplies in sealed containers. Keep chilled food in a separate cooler so you can access it without unpacking everything else.
Box 3: Cleaning and water
Keep the washing tub, cleaning supplies, cloths and rubbish bags together. Pack this box so it is easy to reach after cooking.
Use boxes that fit securely in your vehicle. They should not slide around when you brake or turn, and heavy items should be positioned safely.
Once you have settled on your setup, leave the basic equipment packed and replenish consumables after each trip. That way, preparing for the next outing becomes much easier.
7. Find a Suitable Place to Cook
Not every attractive roadside location is a suitable place to set up a kitchen.
A quiet view may be tempting, but you also need a safe, stable surface, enough space to work and permission to cook there.
Before setting up, check the following:
- You are in a permitted parking or camping area, away from moving traffic.
- The stove can sit on a stable, level surface designed to tolerate its heat.
- The cooking area is outdoors and well away from the vehicle, tents, dry grass and other flammable materials.
- Wind will not destabilise the stove or carry the flame towards nearby objects.
- You have drinking water, cleaning supplies and a way to take your rubbish with you.
Avoid cooking on the car’s bonnet or on an improvised surface that has not been designed for a hot stove. Do not place a stove on plastic tables or other heat-sensitive surfaces.
If conditions are too windy or the location is unsuitable, skip the cooking and have a packed meal instead. A road trip should not become an exercise in finding a way to cook at any cost.
Also remember that a portable stove, gas canister or other fuel system must be handled according to its specific instructions. Do not improvise connections or use incompatible fuel.
8. Start With Simple Meals
You do not need complicated recipes to enjoy cooking outdoors.
Begin with meals that require few ingredients and minimal washing up.
Here are three simple ideas.
Tea or coffee with breakfast
Carry tea bags or coffee, drinking water, milk that can be stored safely, and a few ready-to-eat breakfast items. Heat water on the stove and prepare your drink when you have a suitable place to stop.
A quick egg meal
If you have a cooler that keeps eggs at an appropriate temperature, a small frying pan can be used to prepare eggs with bread or wraps. Keep raw eggs separate from ready-to-eat food, clean utensils properly and cook the eggs thoroughly.
A simple one-pot meal
Pack a measured portion of a suitable grain or other ingredient, along with seasoning and vegetables that will keep safely for the duration of the trip. A lidded pot makes preparation and cleanup easier than using several pans.
These are starting points rather than a fixed menu. Once you know how your equipment performs, you can add other meals that suit your tastes and the kind of trips you take.
9. What You Can Skip When Starting Out
Camping equipment can become expensive when you start buying things because they look useful in product photographs.
For a compact road-trip kitchen, you probably do not need a large folding kitchen cabinet, several frying pans, a full dinnerware set, multiple burners or specialised cookware for every type of meal.
You can add equipment later if experience shows that you need it.
For example, a second burner may be useful when cooking for a family. A larger cooler may be necessary for a longer trip. A dedicated folding table can help if you regularly visit campsites without suitable preparation surfaces.
But buying everything at once creates more cost, more weight and more items to maintain.
Start with the basics. Take a short trip. Notice what you actually use and what you wish you had brought. Then adjust the setup for your next outing.
A Compact Camping Kitchen Checklist
Before leaving home, use this checklist to see whether you have the essentials.
Cooking
- Portable camping stove and compatible fuel
- Ignition accessory, if required
- Small pot with lid
- Frying pan, if needed
- Cooking spoon or spatula
Preparation and eating
- Knife with protective cover
- Small chopping board
- Plate, bowl, mug and cutlery
- Food-storage containers
- Salt, spices and cooking oil, if needed
Food and water
- Planned ingredients and snacks
- Drinking water
- Cooler and ice packs for perishable food
- Handwashing supplies
Cleaning and safety
- Washing tub, sponge and dishwashing liquid
- Quick-drying cloth
- Rubbish bags
- Suitable fire-safety equipment as appropriate for the stove and location
- A permitted, stable outdoor cooking location planned
Adjust the checklist to the length of your trip, the number of people travelling and the meals you intend to prepare.
The Best Camping Kitchen Is the One You Use
A small camping kitchen does not need to look impressive or contain every piece of equipment available. It needs to make cooking easier without taking over your car.
Start with a stove that suits your needs, a few pieces of cookware, a compact preparation kit, sensible food storage and enough water for cooking and cleaning. Keep everything organised, learn how your equipment works and add items only when you have a genuine reason to do so.
The first setup may not be perfect. You might carry something you never use or discover that a particular container takes up too much space. That is part of working out what suits your style of travel.
With a little planning, you can make a simple meal, enjoy a break from driving and get back on the road without turning the entire trip into a packing exercise.
Sometimes, a cup of tea at the right stop is all the camping kitchen you need.
Discover more from Uncle Teddy
Subscribe to get the latest posts sent to your email.